How to collect, label, and mail samples to Little Haven DNA.
Write Sample 1, Sample 2, etc.The sample number is required. You can add a name, band, or ID too.
Sample number must be on each baggieBird names or bands are okay too, as long as the sample number is clearly written.
Include your order codeThis lets Little Haven match your envelope to your account.
Before you begin
Thank you for trusting Little Haven DNA with your feathered family. Each order has a unique order code in your dashboard. Include that order code with your samples so everything can be matched quickly when your envelope arrives.
ALL SAMPLE TYPES MUST BE COMPLETELY DRY BEFORE YOU PUT THEM IN A BAG.
Feathers, eggshell membrane, and blood samples can all go rancid in the heat. Rancid samples cannot be tested.
Baggie labels: Each DNA baggie must include the sample number from your portal, such as Sample 1 or Sample 2. You may also write the bird's name, band, or ID on the baggie, but the sample number is what I use to match it to your order.
Important: Clean collection matters. Mixed DNA or cross contamination can make results incorrect.
1
Step 1 of 4
Fill in sample details
Wait for your order to be accepted.
Your status will show Accepted Provide Sample Details
and your order will have a button that says “Enter sample details”.
Enter each sample.
Give each bird a band or name, its species, and the sample type you plan to send.
Everything you will enter
Band or name for the bird so you can identify it in your results
Required species from the drop down for that test type
Optional breed, if you know it
Sample type you plan to send
Optional note for that bird
Submit.
Your order status will move to Awaiting mail
and you will receive an email with the next steps.
Use the sample number as the baggie label.
The sample number shown for each entry is the label to write on that sample's DNA baggie.
Bird names or bands are helpful for your results and certificate, but the sample number is the required label on the DNA baggie.
Example: If the portal says Sample 1 for Blue and Sample 2 for Yellow,
write Sample 1 on Blue's DNA baggie and Sample 2 on Yellow's DNA baggie.
2
Step 2 of 4
Collect samples
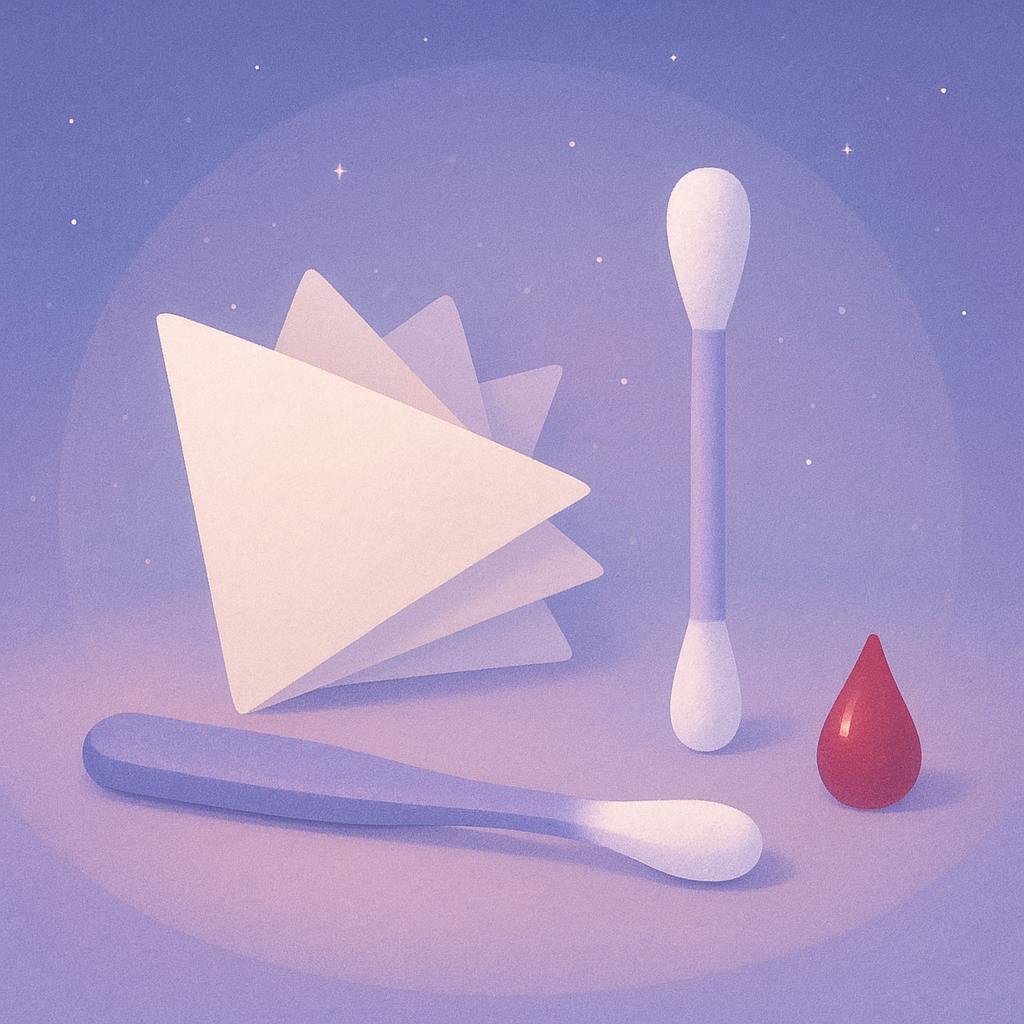
Choose one accepted sample type for each bird. Coffee filter blood spots are the easiest to mail and the preferred option.
Which sample are you collecting?
Sample type
Blood spot
Best choice: Blood on a coffee filter or small paper triangle
Accepted: Blood on plain paper
Accepted: Blood on a Q-tip
Bird DNA sample
Toe Nail Blood Method
Use one tiny blood spot from one toe nail.
Kids: please ask a grown-up to hold the animal and use the clippers.
Items Needed
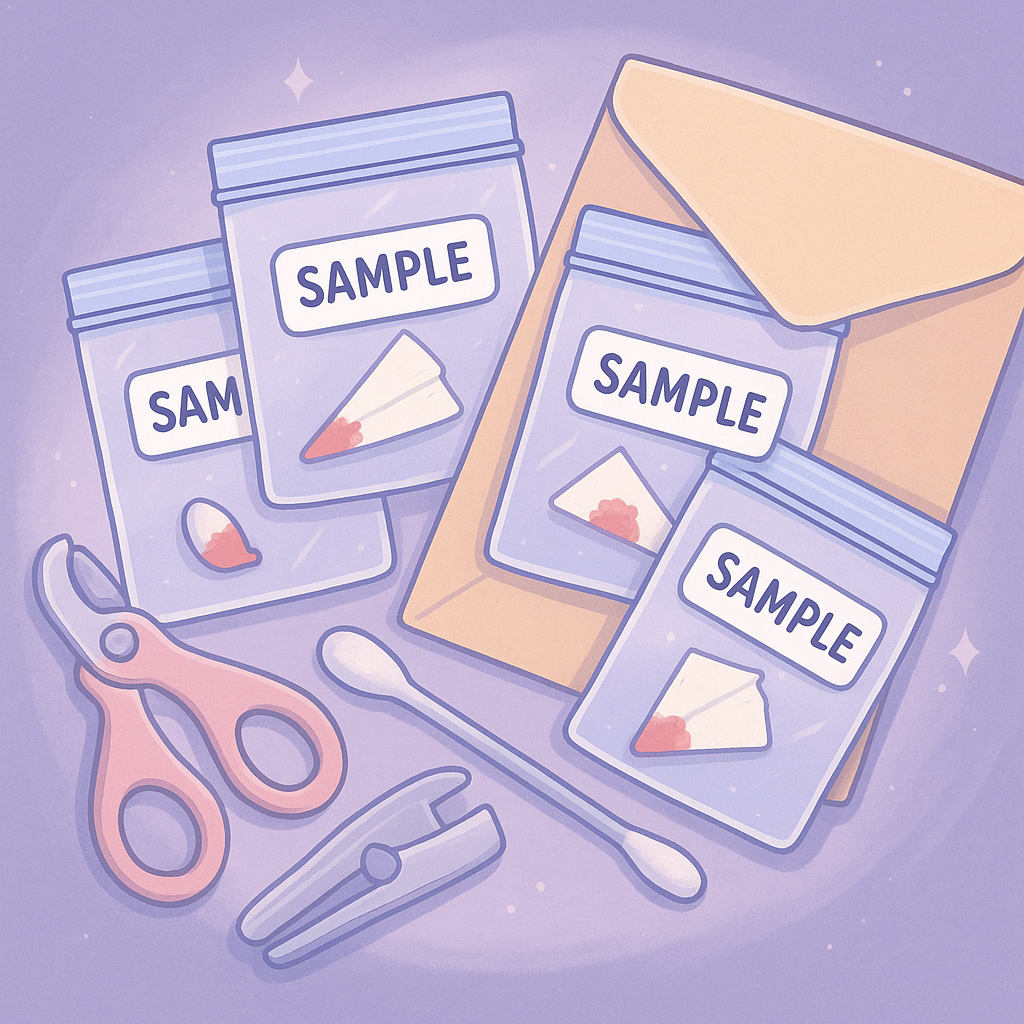
Pet nail clippers
Rubbing alcohol
Paper towel
Coffee filter, plain paper, or Q-tip
Small bags, one per sample, labeled Sample 1, Sample 2, etc.
Your sample numbers from your portal
Corn starch or styptic powder
A helper, if needed
Watch video examples (2 short videos)
Watch first
Video examples for collecting a blood spot
These are here if seeing the process once makes it feel less stressful.
Write the sample number on the bag.
Your order will show Sample 1, Sample 2, and so on.
You may add bird names, band colors, or bird IDs too, but the sample number must be clear.
Cut a small piece of coffee filter or paper.
Hold the big end. Do not touch the tip where the blood will go.
Keep bird DNA away.
Human DNA is safe. Bird DNA is not. Bird DNA gets everywhere.
One tiny bit of female bird DNA can make the results look female.
Clean the clippers.
Use rubbing alcohol. Let the clippers dry. Repeat this between each bird.
Clean the bird's toe very well.
Use rubbing alcohol. Feet can have poop, dirt, and DNA from other birds.
Hold the bird gently.
Do not squeeze the chest. Birds need their chest to breathe.
Clip one toe nail a little too short.
Clip a tiny bit and gently squeeze. If there is no blood, clip a tiny bit again.
I only need a tiny dot of blood.
Touch the paper tip to the blood.
Let the blood soak into the paper.
Blood amount
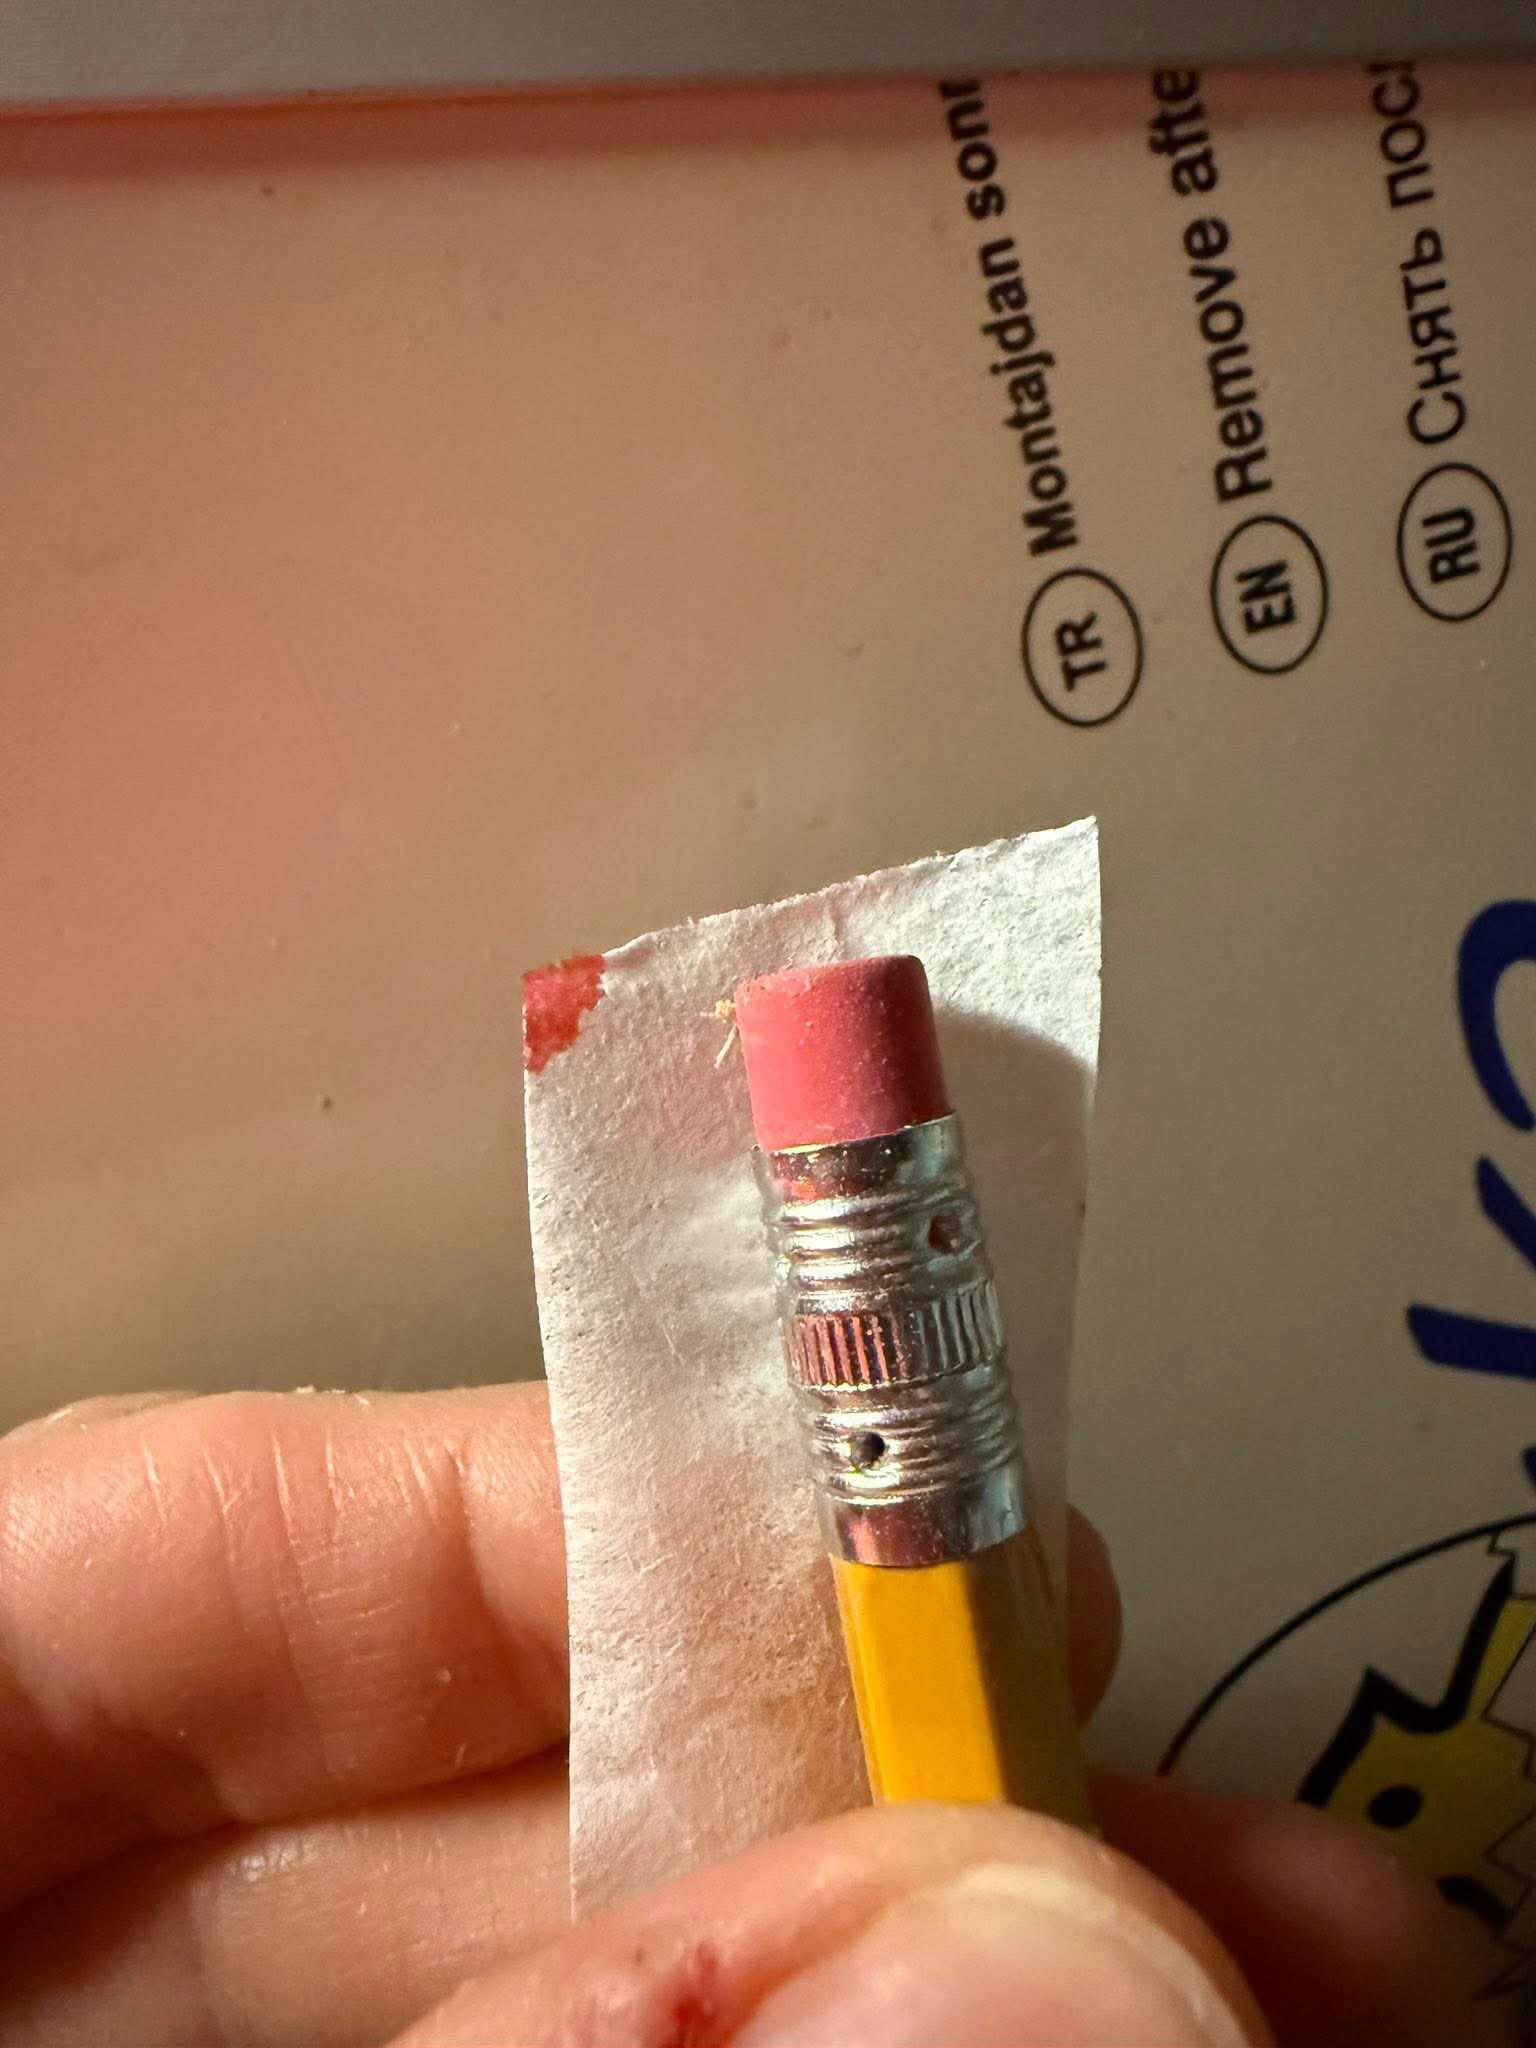
I need at least this much.
I do not need a lot of blood, but I need at least this much. Not a tiny smear. Not a faint mark. Make the spot easy to see.
This is the minimum amount I need.
Stop the bleeding.
Use corn starch or styptic powder if needed.
This is usually more needed for adult birds or older chicks.
Younger chicks usually stop bleeding easier.
Let the sample dry.
Do not put wet paper in the bag. It can get moldy and may not give results.
Put the dry sample in the bag.
One bird sample per bag. This helps avoid cross contamination.
Clean before the next bird.
Clean the clippers with alcohol again. Use new paper. Use a new bag.
Wash hands if needed.
Wash if there is blood on your hands so blood does not mix between birds.
Sample type
Feathers
3-6 mature feathers, freshly plucked.
Baby fluff feathers will not work. It takes several months for there to be enough DNA in the quill.
Write the sample number on the bag.
Your order will show Sample 1, Sample 2, and so on. Names or bands are okay too if the sample number is clear.
Pluck 3-6 mature feathers from one bird.
Freshly plucked, not baby fluff.
Let the feathers dry completely.
Feathers can go rancid in the heat, and rancid samples cannot be tested.
Put them in the labeled bag.
One bird sample per bag. This helps avoid cross contamination.
Sample type
Eggshell membrane
No blood needed
Eggshell Method
Let the eggshell membrane dry all the way.
Write the sample number on the bag. Your order will show Sample 1, Sample 2, and so on. Names or bands are okay too if the sample number is clear.
Put the dry eggshell membrane in the labeled bag.
Use one bag for each sample.
3
Step 3 of 4
Pack your envelope
Before bagging: make sure every feather, eggshell membrane, and blood sample is completely dry.
Damp samples can go rancid in the heat and will not work for testing.
Put every labeled bag into one larger envelope.
Each individual DNA baggie should be labeled with the sample number only.
Add one note inside with:
Your full name on your order
Your email address
Your Little Haven DNA order number
Why the note matters
If this note is missing and the order code is not inside the envelope
we have no way to match your samples to your account.
This will delay results for you and for others in the queue.
There is also a print order list you can use but it's not required.
Baggie labels stay simple: Sample 1, Sample 2, Sample 3.
Bird names, bands, IDs, colors, or breeds are okay as extra notes on the baggie, but each baggie must clearly show the sample number.
4
Step 4 of 4
Mail your samples
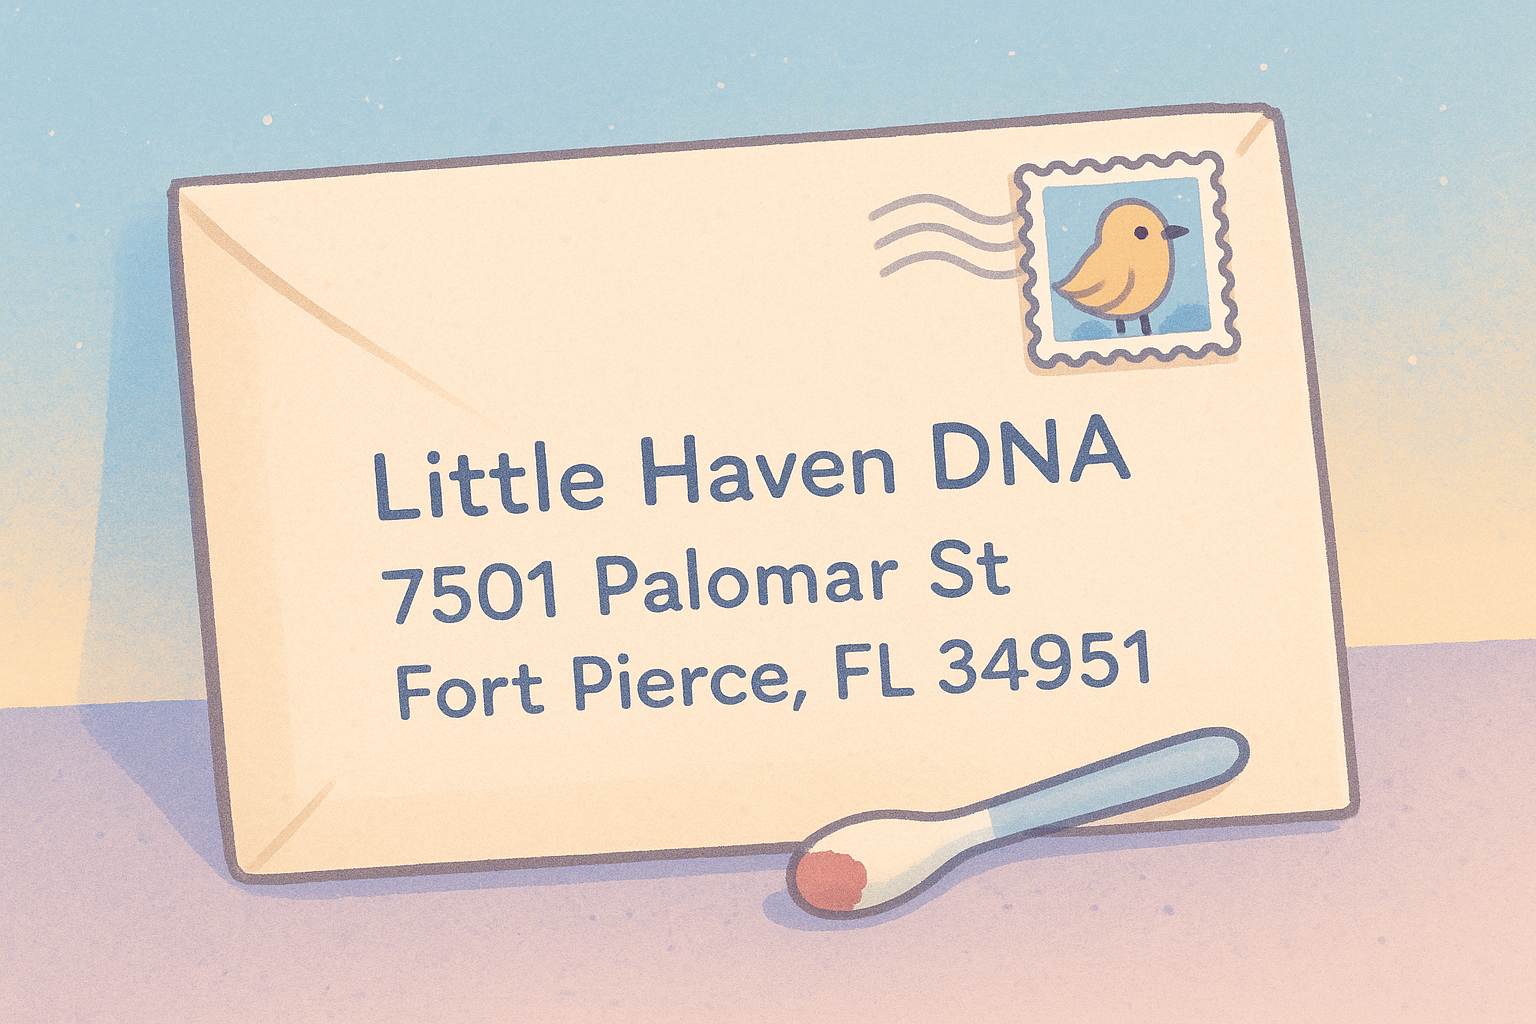
Mail your samples to
Little Haven DNA7501 Palomar StFort Pierce FL 34951
On the back of the envelope or anywhere else please also write your order number for extra security and fast processing.
Shipping options
You are welcome to use any mailing service.
Many people prefer a shipping method with tracking so they can follow the envelope.
A lot of homesteaders enjoy using Pirate Ship (Click to link) for discounted labels that you print at home,
but this is completely optional. You can simply print the label, tape it to your envelope, and put it in your mailbox to be picked up.
Then
What happens after your samples arrive
Samples received
In progress
Completed
Most results are ready within one to three days of intake.
You will receive an email the moment your results are marked Completed
and you can then log in to view them and create certificates.
How intake works
When your envelope reaches Little Haven it goes through intake.
During intake samples are scanned, logged, and prepared for testing.
Little Haven is a small homestead lab which means I care for animals, children,
and the farm along with the lab work.
Intake happens later in the day when the mail arrives, but I always bring samples into the system
on the same day they are delivered.
After intake your order status will move to Samples received,
then to In progress once testing begins.
Need help?
If something changes
We understand that life with animals is tender and sometimes difficult.
If a bird passes away or you need to cancel or adjust a sample before it is run,
please reach out. We can credit that test to your account for future use when possible.
You can always reply to any Little Haven DNA email or message
Little Haven Homestead on
Facebook (Click to link)
if you need help at any step.
With gratitude and many soft feathers, Moon
Little Haven DNA Lab
A project of Little Haven Homestead LLC